Showing posts with label Japanese Embroidery. Show all posts

Monday, 15 September 2025

Hanayama - The Flower Mountain

Last month I wrote about learning Japanese Embroidery. The various techniques are taught in Phases.

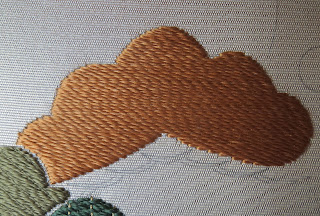
For Phase I, I stitched Hanayama - The Flower Mountain. This design introduces some of the basic techniques of Japanese embroidery, including laying weft and horizontal foundations, lattice holding, Japanese knots, and couching.

© JEC/Carol-Anne Conway

Japanese Art is full of symbolism and meaning. As I learn the embroidery techniques, I am trying to learn as much as I can about the motifs that I am stitching.

Each of the five mountains contain one design element: cherry and plum blossoms; chrysanthemums; maple leaves; pine trees; and kikko (tortoise shell). These motifs symbolise the seasons; spring, summer, autumn, winter and the cosmos (eternity). I don't fully understand why the cosmos is often depticted together with the four seasons. I think that it is related to the never ending sequence of one season following another.

Happy Stitching

Sunday, 15 May 2022

5 Diagonal layer: irregular shapes (naname-nuikiri: kiku)

For each of the three layer/foundation stitches that we have looked at so far, the orientation of the stitches has been unequivocally defined and, in each case, the stitches are all parallel to each other. For Diagonal layer (D) the orientation is determined by the motif being stitched and the stitches radiate slightly to accommodate the shape being filled. Exactly how this happens depends on whether the shape is regular (such as a cord) or irregular, such as chrysanthemum petals.

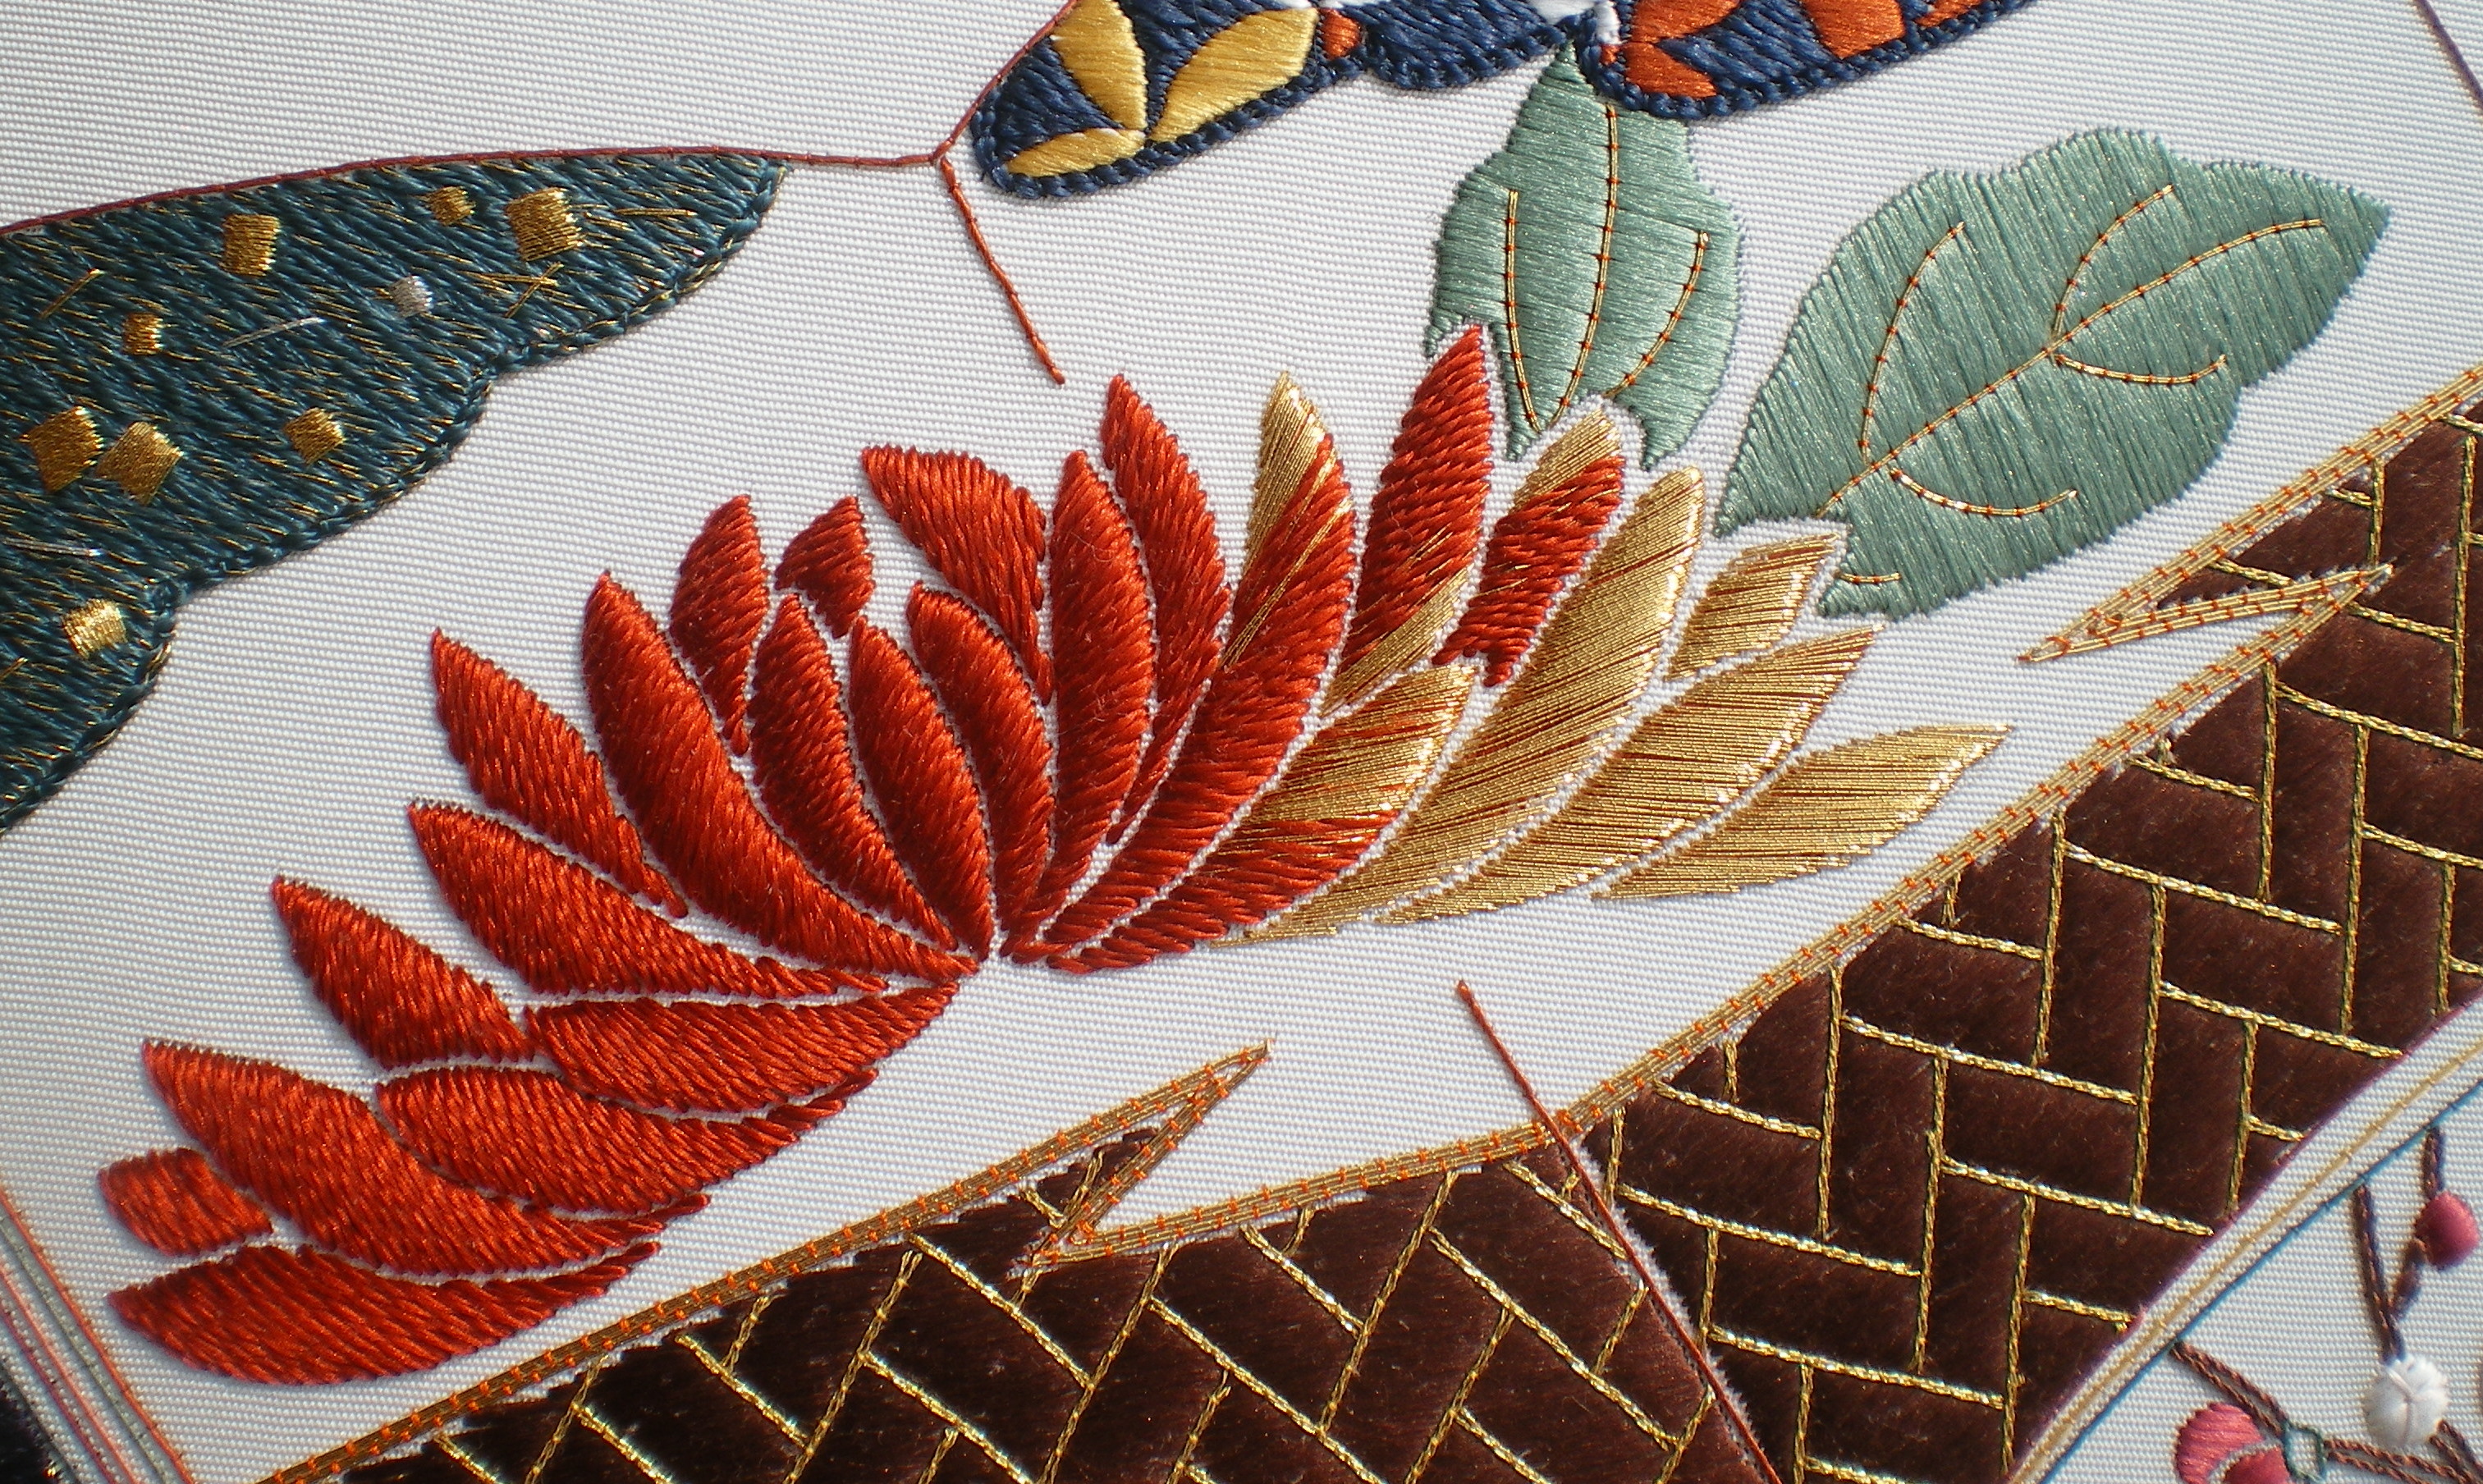
Chrysanthemums, both round petal and pointed petal, have cropped up in a few of my Phase pieces, beginning with Hanayama, and at each phase, I think I have learnt more about stitching diagonal layer on an irregular shape.
© JEC/Carol-Anne Conway

The first thing to consider is the direction in which the central line of the petal curves. The stitches are always laid in a clockwise direction, meaning that for some petals stitching begins at the tip of the petal and works towards the centre, while for others stitching begins at the centre and works outwards.

The first stitch lies along the outline of the shape in the right diagonal direction (top right to bottom left). The following stitches rotate gradually around the curve of the shape. A filler stitch can be used when needed to avoid leaving a gap at the outer edge but I have rarely found these necessary on gently curved shapes such as petals. A filler stitch is a stitch that does not extend the full width of the shape but should be at least two-thirds of the length of full stitches. The end of the filler stitch slightly tucks under the previous stitch and is further concealed by the following stitch so that it blends with the surrounding stitches.

Generally, the stitches should be at a consistent angle to the central axis of the shape and a slightly steeper angle is considered more elegant. On Hanayama, the chrysanthemums were possibly the motif I struggled with most and the stitching with which I was least satisfied. Looking at them now, I would say the main issue (if you completely ignore the utterly inconsistent one-point open space between the petals) is that the angle of the stitches is too shallow.

While there are no chrysanthemums on Suehiro, diagonal layer is used on one of the cords. This, however, is a regular shape and I will review that in a separate post.

The large chrysanthemum on Venerable Friends is a focal point of the design and I recall taking considerable care with it. There are still issues with the one-point open space but, because many of the petals are padded, these are not nearly as evident. What is evident is that I have, in most cases, angled the stitches more steeply so the curves are more elegant. The tips of some petals are a little square and all of them would benefit from a more evident “one-point outward” stitch at the tip.
© JEC/Carol-Anne Conway

I used diagonal layer on the Pink Lady, the butterfly that represents Mum on Flutterbies. I think the improvement in my stitching is evident but then a lot of love and care when into this entire piece.
© JEC/Carol-Anne Conway

Chrysanthemums feature heavily on Sake Boxes, affording me plenty of opportunities to practice diagonal layer. I was not terribly satisfied with the first few round petal mums that I stitched but I recall that I stitched these during a heatwave and that I found the silk more difficult to work with than usual. By the time I stitched the last of the mums, I felt that I had made significant progress. I particularly like how pointy most of the petals are.
© JEC/Carol-Anne Conway

© JEC/Carol-Anne Conway

On Kusudama, I have been focused on achieving and maintaining the correct twist but I have tried not to lose sight of all the other details that I have been working on, the one-point open space between the petals, the shape of the petals, and the angle of the stitches. While I still see room for improvement, it is good to see improvement over those on Hanayama.
© JEC/Carol-Anne Conway

Happy Stitching

Wednesday, 27 April 2022

30 Woven effect (mushiro-nui)

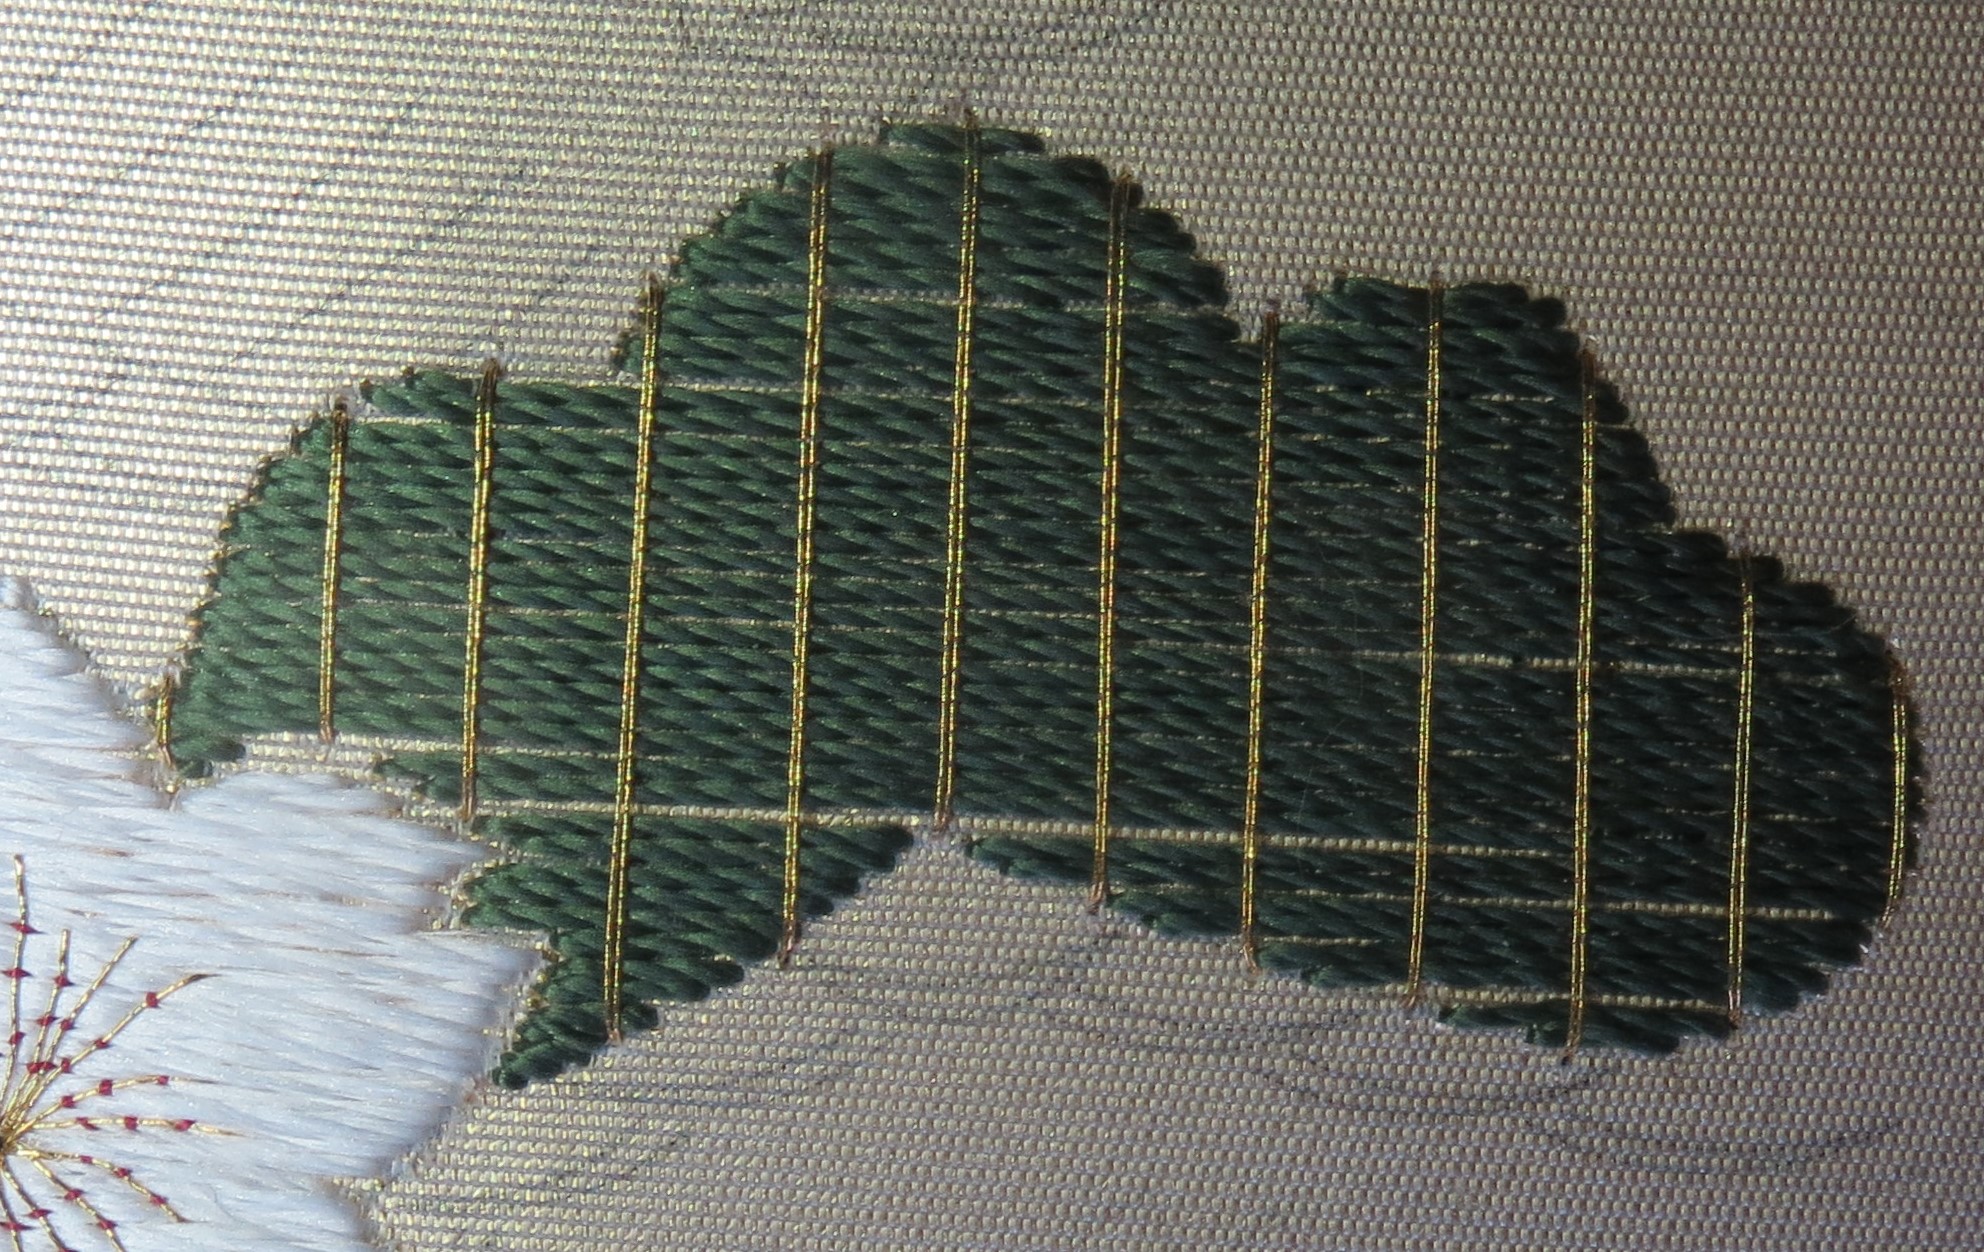
There are a small number of techniques that come under the heading of Novel Effects. They are three distinctly different techniques. The first of these that I learnt is one that I enjoy very much. I first encountered woven effect (Nw) on Phase III, Venerable Friends, and have used it a couple of times since. It is fun to stitch and produces and interesting effect that I have not seen in any other form of embroidery.

The effect is created in several stages. The first step is similar to creating a weft foundation, two stitches are made across the width of the motif in the weft direction, then a space is left, the width of one stitch. This sequence is repeated, stitch two, miss one, until the entire motif is filled.
© JEC/Carol-Anne Conway

The second step is to stitch lines perpendicular to the foundation at 5 mm intervals. To prevent these stitches from moving they are couched, at approximately, 1cm intervals, in the open spaces. It is not necessary to couch into every open space but the couching stitches should be staggered so that there will be some couching stitches in each of the open spaces.
© JEC/Carol-Anne Conway

The open spaces can then be filled using the same thread as for the first step. Finally, the filling stitches are couched half way between each of the perpendicular stitches made in step two.
© JEC/Carol-Anne Conway

The text book suggests that the weft layer stitches should be a fairly thick tight twist thread, e.g., 4->1 but the pine on Kusudama is first time that I have worked this technique in twisted silk. On Venerable Friends flat silk was used to great effect.
© JEC/Carol-Anne Conway

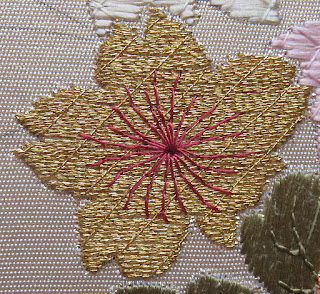
Woven effect is used again on Phase IV, Karahana, this time using twisted gold for the weft layer.
© JEC/Carol-Anne Conway

On the Flower Circle, I stitched a variation based on something I had seen in an exhibition of Japanese Embroidery. When I stitched the foundation I stitched two and missed two so the “weave” was more even. Instead of laying perpendicular stitches across the first layer, I couched both layers of weft stitches in a brick formation.
© Shizuka Kusano/Carol-Anne Conway

Happy Stitching

Friday, 22 April 2022

3 Vertical layer (tate-nuikiri)

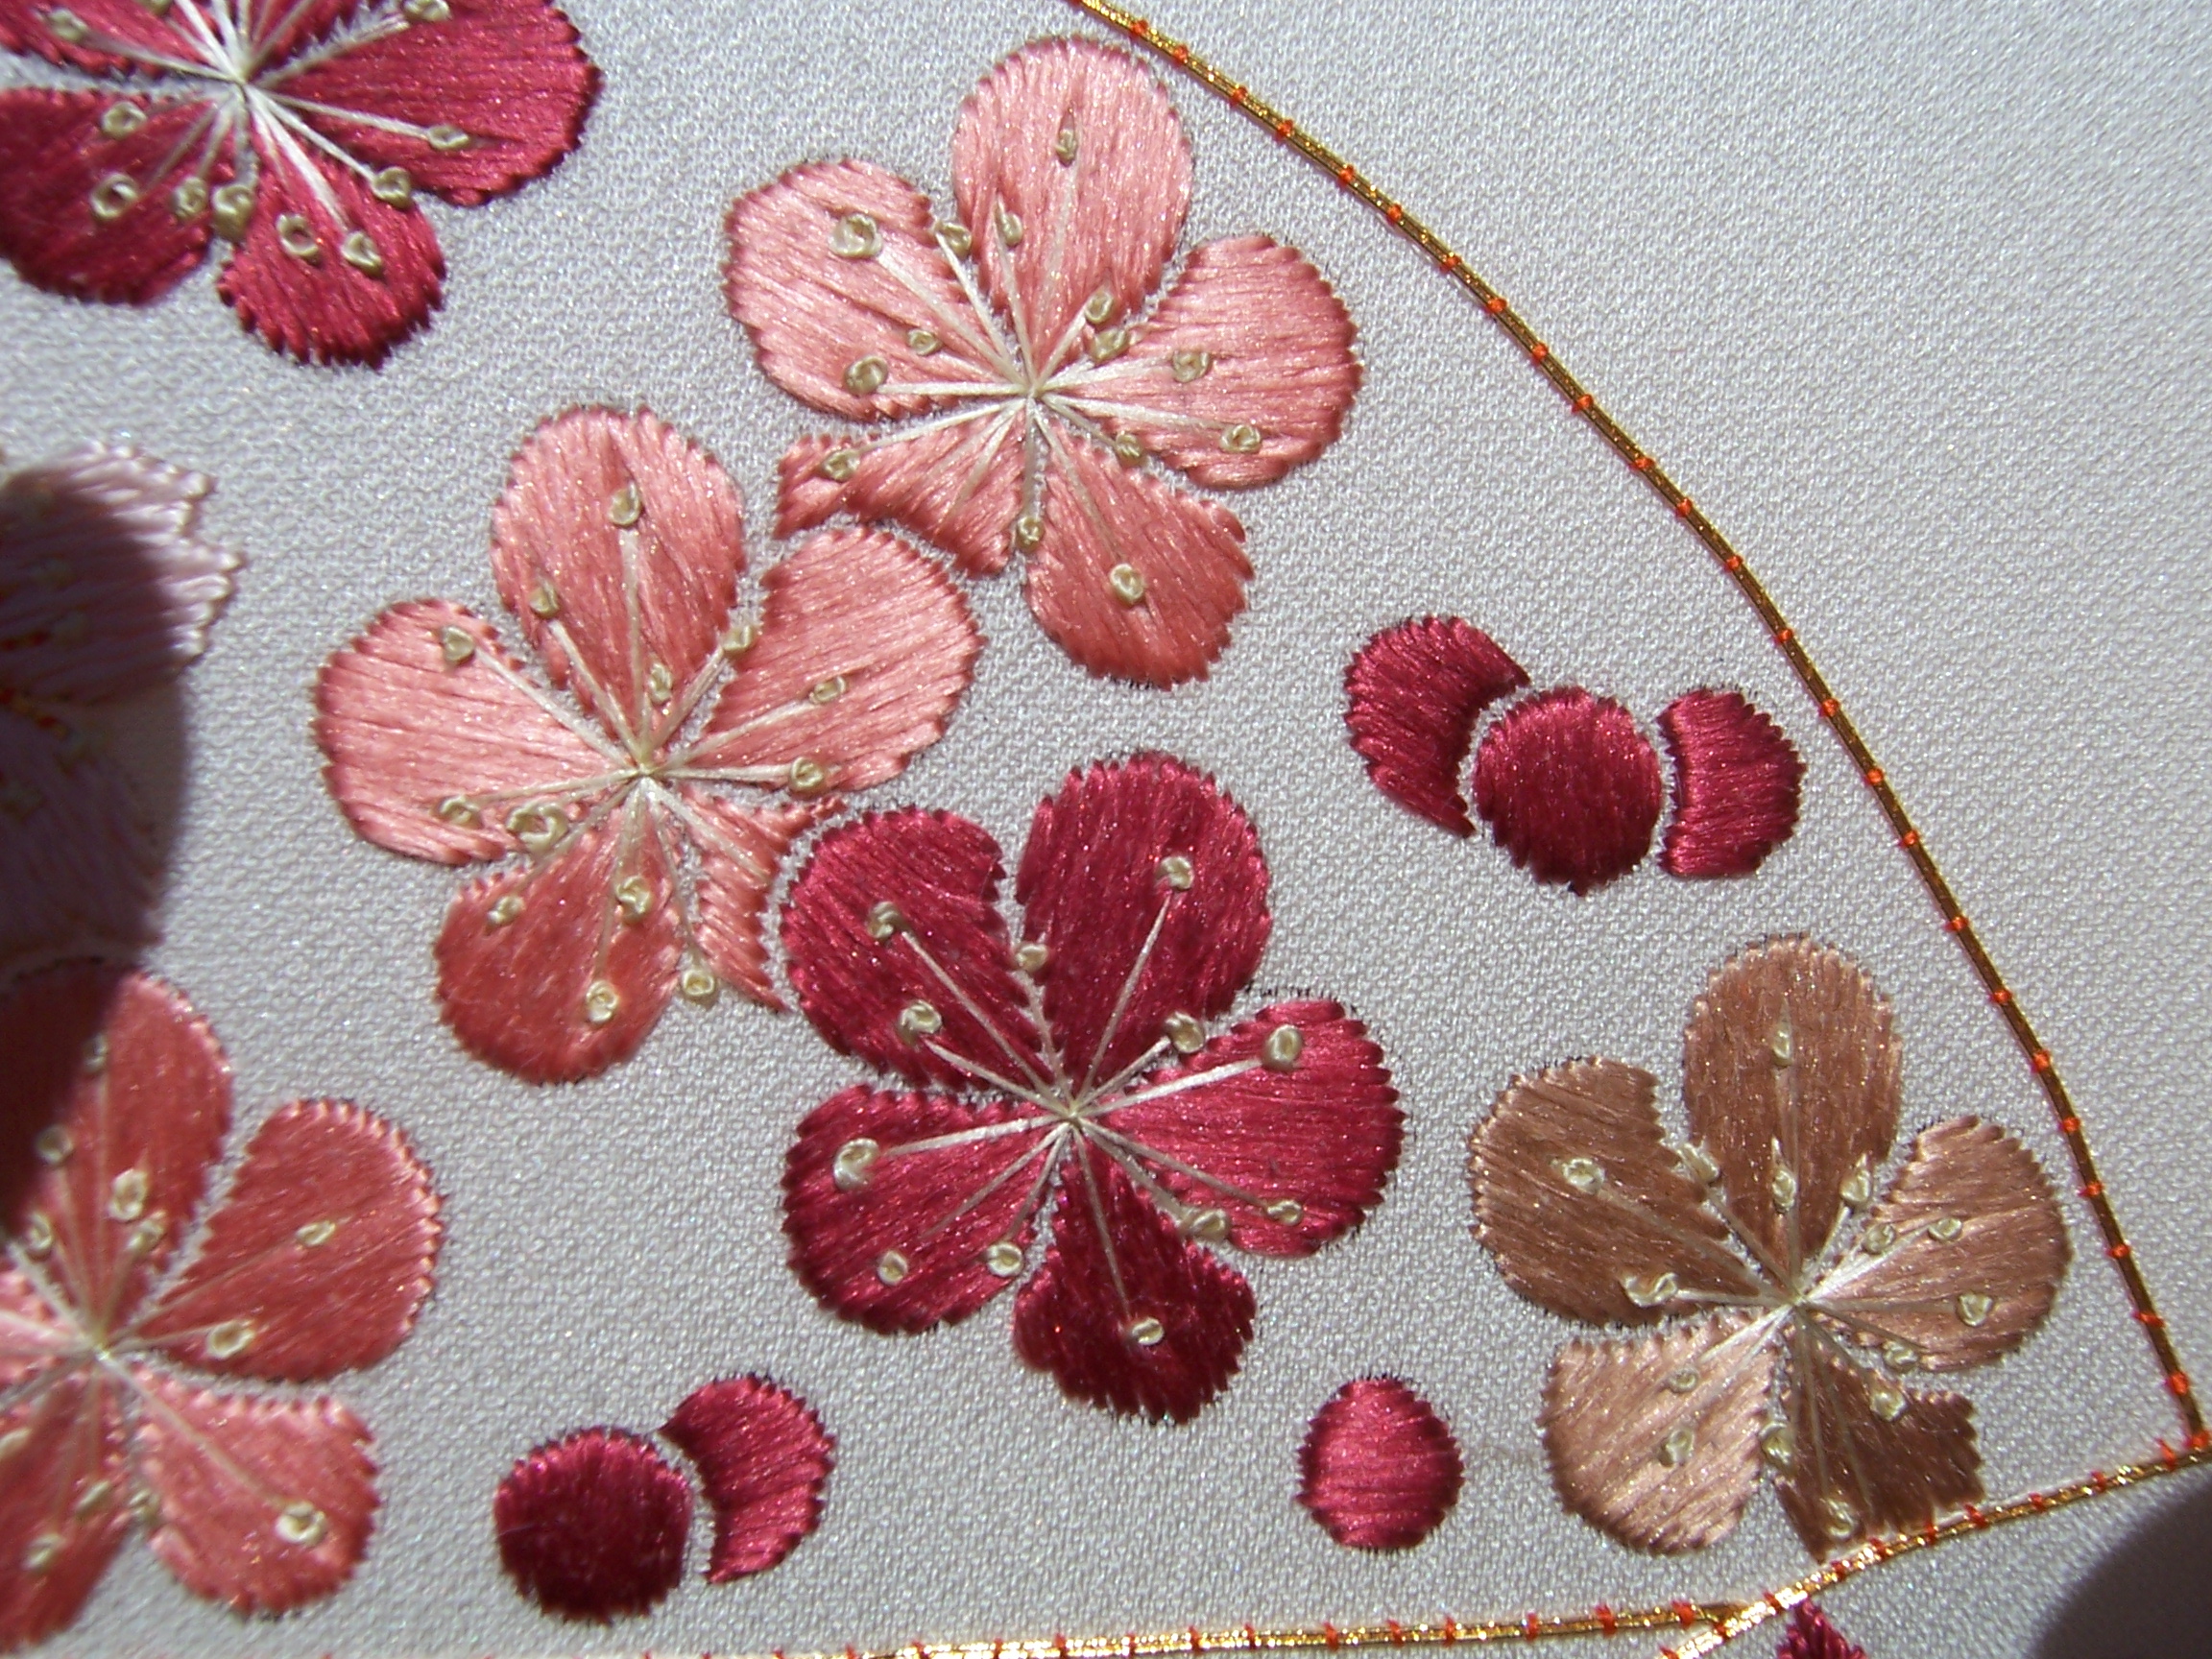
The vertical layer (V) is aligned with the vertical axis of the motif. It is typically worked on smaller motifs, such as the petals of cherry or plum blossom and therefore does not require any form of holding. Stitches are worked from the middle of the motif to the right, then from the first stitch to the left. All stitches are parallel to the centre stitch.

As each petal is orientated in a different direction, so is the direction of stitches. Because of the reflective qualities of flat silk, a mass of blossoms stitched in a single colour can look very effective.

I thought that I had stitched vertical layer many times but when I came to review my progress I was surprised that it is present on only on my first three phase pieces.

When I first wrote about Phase I, Hanayama I said that the design introduces some of the basic techniques of Japanese embroidery, including laying weft and horizontal foundations. In fact it covers each of the layer stitches. Vertical layer is used on both the cherries and plum blossoms. With both flowers, it is important to stitch the petals in the right order, a sequence we refer to as head, hands, feet. One petal is slightly larger or more prominent than the others. This is the head irrespective of orientation of the flower and is always stitched first. The two petals either side of the head are the hands and are stitched next. The two remaining petals are the feet, they are stitched last, if one petal overlaps another, that petal is stitched before the one below.
© JEC/Carol-Anne Conway

Cherries and Plums appear again on my Phase II, Suehiro. At the time, I wrote that, comparing them to their counterparts on Hanayama, I could see improvement and I recall that I really enjoyed stitching this piece. I can see, however, that I had far from mastered the technique of one point open space that should leave a small gap between petals or along the vein of the maple leaves.

© JEC/Carol-Anne Conway

I can see that I was still struggling with the one point open space when I stitched Venerable Friends at Phase III but also that the stitches of my vertical layer on the plum blossoms are parallel to each other. Small improvement at every phase is what we aim for.
© JEC/Carol-Anne Conway

Happy stitching

Friday, 25 March 2022

9 Short-Stitch Holding (kiri-osae)

The most challenging holding stitch (for me) is short-stitch holding (Hs). This technique can be used on either a twisted or a flat foundation. The holding stitches can be in the same colour as the foundation to blend in, or in a different colour to create a delicate contrast.

Short stitch holding is covered in detail at Phase VI. I choose to stitch Loving Couple which includes a variety of short stitch holding techniques.
© JEC/Carol-Anne Conway

Despite the challenges, I absolutely loved stitching “The Ducks”. Here the short-stitch holding is mostly used for effect; to create subtle shading or suggest the iridescence of the feathers. More often short-stitch holding is used to secure foundation stitches where there is no other stitching on top. As a rule of thumb any area more than 1cm long requires holding.

Certain types of leaves consist of either a weft or horizontal foundation with veins stitch on top of the foundation. In some cases the stitched veins with be sufficient to secure the entire foundation. In others, for example where only the central vein is stitched, some additional holding may be required. The vein is stitched first and short-stitch holding is applied only in the sections where the unheld foundation stitches are more than 1cm long.
© JEC/Carol-Anne Conway

In this case the holding stitches should blend, as much as possible, with the background. On a flat foundation, 0.5 flat silk in the same colour as the foundation is used.
© JEC/Carol-Anne Conway

On a twisted foundation a 2->1 twisted thread is used.
© JEC/Carol-Anne Conway

Happy stitching

Thursday, 10 March 2022

2 Horizontal Layer (nari-jibiki)

The horizontal layer (H) is very much like the weft layer. The key difference is that a horizontal layer is worked across the width of the motif rather than the width of the fabric. Where the motif has an axis, such as the central vein of a leaf, the stitches are worked perpendicular to the axis and are parallel to each other. Stitches are worked from the middle of the motif to the right, then from the first stitch to the left. On irregularly shaped motifs, I tend to start at the widest point rather than the exact middle. On all but the smallest motifs, I find it helpful to mark parallel lines at regular intervals; I find it difficult to keep my stitches parallel without this visual guide.

Horizontal layer is typically worked on leaves. Were there is more than one leaf, and they are orientated in different directions, the stitches are orientated to suite each individual leaf.
© JEC/Carol-Anne Conway

On Camelias, the leaves are all worked in the same shade of green but, because of the reflective qualities of flat silk, each petal appears to be a slightly different colour.
© JEC/Carol-Anne Conway

For chrysanthemum leaves, what appears to be individual leaves may be the lobes of a single leaf. In this case, the horizontal layer is perpendicular to the main lobe and the stitches are aligned across all of the lobes, even when the join is not visible.
© JEC/Carol-Anne Conway

Happy Stitching

Saturday, 26 February 2022

15 Geometrical effects (waritsuke-nui)

There is, in the world of embroidery, little to rival the glossy shine of a flat silk foundation. While stitching the pines of Hanayama, I was too focused on my errors to see any beauty in my foundations. I started stitching Phase II, Suehiro, at home in advance of the class so was able to take my time with the foundations and was more satisfied both with the actual stitching and the results.

These foundations are the first step for the geometrical effects that adorn two sections of the fan. I recall that I was particularly pleased with the flat white silk foundation on one of the sections and was loathe to “spoil” it with additional stitching. Fortunately, I really enjoyed creating the geometrical patterns and was pleased with the finished sections. Geometrical effects are not appropriate for every design but they are a aspect of Japanese embroidery that I especially enjoy.

Gt Tie-dye effect (hitta-gake)

Although I tend to think of hitta-gake as one of the novel effects, it is in fact a geometrical effect that falls under the category of Linear Effects. Hitta-gake is commonly referred to as "tie-dye effect" which, for me, conjures up images of the psychedelic t-shirts of the 1960s and 70s. Hitta-gake is nothing like that - it mimics the look of kanoko shibori which in turn mimics the camouflage spots of a fawn. It is a form of shiborizomi, a term that covers all of the manipulated resist dying techniques. I know very little about shibori or dying in general but I like to understand all aspects of my embroidery so often do some background reading about related subjects. I found John Marshall’s article on shiborizomi very informative on this subject.

The foundation represents the undyed areas of the fabric so is often stitched with flat white silk. Here I used two strands and was careful to space the stitches so that they covered the fabric without cramming them together.
© JEC/Carol-Anne Conway

The foundation is covered with a lattice of twisted thread. This lattice is very slightly larger than the lattice holding on the cherry blossoms and the thread is a tight twist.
© JEC/Carol-Anne Conway

Using the same thread, three straight stitches are placed over each intersection in the direction of the foundation.
© JEC/Carol-Anne Conway

Two additions straight stitches are placed in the centre of each "square", also in the direction of the foundation. Unsupported straight stitches in the same direction as the foundation would simply sink into the foundation stitches. Those across the intersection are supported by the thread forming the lattice; the two in the centre of each square are supported by a "sleeper" stitch. This is simply a short stitch perpendicular to the foundation that is not visible when the two stitches are placed on top of it.
© JEC/Carol-Anne Conway

When finished, the motif may be outlined to hide the stitching holes.
© JEC/Carol-Anne Conway

Tie-dye effect: in relief (honbitta-gake)

To show the tie-dye effect in sharper relief, the open spaces around the edge of the motif may be filled using the same thread.
© JEC/Carol-Anne Conway

I did not understand this concept until I saw pictures of kimono that have areas of kanoko and areas of solid colour. Only the complete spots remain with the solid colour filling any remaining space.
Happy Stitching

Sunday, 13 February 2022

8 Lattice Holding (goban-osae)

While I enjoy the challenge of some of the more complex techniques, I very much appreciate the elegance of some of the simpler stitches. Lattice holding (Hl) covers the foundation with a lattice of thin threads. It is a decorative stitch that requires no additional embroidery on top. As with many simple techniques, accuracy is the key to success.
The lattice is created by stitching two layers of long stitches that cover the entire motif. The first is stitched at a forty-five degree angle to the foundation stitches. The second layer is stitched at right angles to the first. A fine thread is used. This does not necessarily need to be the same colour as the foundation. The stitches are tied down at each intersection using the same thread. As with diagonal holding, the couching stitches are made in the same direction as the foundation and pierce the foundation stitches and again, in my opinion, slightly longer couching stitches gives a more pleasing result.

I first used this technique on the pines on Hanayama and while it is not too bad, some of the angles are slightly off resulting in mismatched squares. Even minor defects in a simple, regular design can be very noticeable.
© JEC/Carol-Anne Conway

Despite my best efforts, a few of the holding stitches are slightly off on these cherries but I am pleased that I carefully aligned the lattice across the three. To my mind, a misalignment would have been distracting. Instead, I think they sit quietly and harmoniously together.

© JEC/Carol-Anne Conway

Happy Stitching

Tuesday, 8 February 2022

Happy Harikuyo

I have written about Harikuyo and Japanese needles a few times before

Shiny, Happy Needles
Festival of Needles
Harikuyo
A Needle in a Market
Needles and Pins
Sanjo-Honke Misuyabari, Kyoto © Carol-Anne Conway

When I began learning Japanese Embroidery, I attended a week long class in February each year. The festival of needles fell a few days before this class so I would spend the evening cleaning my needles and generally tidying my equipment and supplies in preparation of the up coming class.

It is tradition, in Japan, to rest your needles for Harikuyo and in the past I have followed this tradition but I think this applies mainly to people whose profession centers around stitching. My needles spend more time resting than I spend stitching so I will honour them this evening but doing some stitching.

Happy Harikuyo

Saturday, 5 February 2022

7 Diagonal Holding (hippari-osae)

If a foundation is used on small motifs, it is used as a single layer. On larger motifs, other embroidery may be added on top in which case it is a foundation layer and some form of holding is used to secure it.
© JEC/Carol-Anne Conway

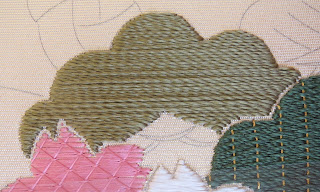
Diagonal holding (Hd) is used only on a foundation of twisted thread*. The success of this technique is largely dependent on the consistency of the foundation, i.e., the uniformity of the twist and the spacing of the threads. The twisted threads on the Pines on my Hanayama are very inconsistent so it was difficult to establish the correct angle and the holding thread is clearly visible in some places.
© JEC/Carol-Anne Conway

Long diagonal stitches in a thin thread of the same colour as the foundation cover the entire foundation.
© JEC/Carol-Anne Conway

The angle of the holding stitches is adjusted to match the twist in foundation thread so that it is barely visible.
© JEC/Carol-Anne Conway

© JEC/Carol-Anne Conway

We had overcast weather for a couple of weeks with very poor natural light. I stitched this pine under artificial light. At the time of stitching, I thought that I had matched the direction of the twisted thread but in natural light I can see that it is not well matched.
© JEC/Carol-Anne Conway

Stitching in natural light, I was better able to align the holding stitches with the twist on this pine.
© JEC/Carol-Anne Conway

The holding stitches are tied down at intervals with short stitches in the same direction as the foundation. The couching stitches, in the same thread as the holding stitches, pierce the foundation stitches. This was counter intuitive to me as I thought this would spoil the look of the foundation. I have learnt to make my couching stitches a little longer so that they blend into the foundation stitch and do not "pinch" the holding stitch. If the couching stitches are placed between the foundation stitches, they can displace them creating small gaps in the foundation.

Happy Stitching

*On the Konbuin fukusa, stitched in the Edo period, a variation of diagonal holding was used on a flat foundation. The diagonal holding stitches (of 0.5 flat silk) are at a much shallower angle, similar to that used in short stitch holding. The couching stitches are spaced approximately 1 cm apart and arranged in rows. As the holding stitches and couching are more visible than on a twisted foundation, consistency is crucial.

Sunday, 23 January 2022

1 Weft Layer (nuki-jibiki)

The techniques are not necessarily taught in numerical order but it so happens that weft foundation layer was the first technique that I was taught. That seems a very long time ago now. I recall struggling and feeling somewhat disappointed with my first attempt.

The mechanics of the stitch are simple enough but simplicity does not always equate to easy. I have come to realise that there many factors to laying a perfect foundation and that a good foundation is key to whatever comes next. I have yet to lay a “perfect” foundation.

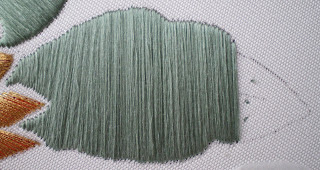
The weft foundation (W) is made with long stitches, the full width of the motif. The stitches should be evenly spaced, close together with no space between them, and parallel with the weft thread of the fabric.

On some fabrics the weft is plainly visible which can be helpful. On other fabrics, such as the fabric Hanayama is stitched on, the weft is not discernable. In this case, I find it helpful to mark parallel lines at regular intervals to assist me. Stitching the pine trees on Hanayama, I could not keep the stitches parallel; they were closer together at one end than the other. I still have a tendency to do this if I do not pay close attention to every stitch. In the following image you can clearly see that the stitches are not parallel. Although this is a horizontal foundation rather than weft, the stitches should still be parallel to each other.
© JEC/Carol-Anne Conway

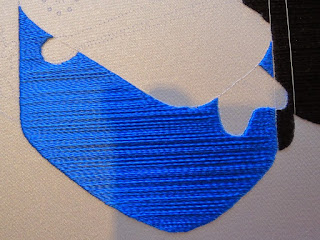
The spacing of the stitches is determined by the width of the thread. While they should be close enough to cover the fabric, if they are too close they become crowded and will not lay evenly. This may be even more evident when other techniques are superimposed over the foundation. In the following two images, the stitches are inconsistently spaced and many are too close together. When the stitch transfer is in place, the foundation does not lay flat and, in places, appears rippled.
© JEC/Carol-Anne Conway

© JEC/Carol-Anne Conway

Where I find an obvious weft helps me keep my stitches parallel, I can find it a distraction when it comes to spacing the stitches correctly. I find I allow the fabric to determine the spacing rather than the thread. I have done that here and the stitches are slightly too close together.
© JEC/Carol-Anne Conway

Here I tried hard not to fall into the same trap and the spacing is much more pleasing; the stitches look comfortable.
© JEC/Carol-Anne Conway

There are other factors that contribute to a pleasing foundation but these apply to many, if not all, of the techniques so I will post about these seperately.

Happy Stitching