I mentioned that
Floral Glove went into hibernation not long after I had started it. There was a reason for that. The supplies for
Floral Glove came in two separate parcels. The linen fabric, silk and gold threads and needles arrived first. The package containing all of the finishing materials arrived soon after I began stitching. Of course, I could not wait to open the package and look at everything. The finishing kit includes a dye cut cardboard glove. When I placed this over my fabric, I could see that I had a problem. The drawn outline on my fabric and the card cut out did not match and no matter how I adjusted it, there was no way that the embroidery was going to fit.
I emailed Tricia at
Thistle Threads and after discussing options we agreed that Tricia would send a blank piece of linen and a copy of the original design which I would transfer onto the fabric myself. The replacement fabric and design were swiftly dispatched but I got caught up in the GMEX show, holidays, some beading, a couple of workshops, etc.
One of the reasons I wanted to do this course was to learn long and short stitch. I knew that I would be doing LSS at the next Phase of Japanese embroidery and I thought it would be a good spring board for that. As things turned out, I began
Camellias before I returned to
Floral Glove but when I became stuck on the random LSS, I decided to return to FG and practice alternating LSS some more.
After tracing the design and framing up I outlined the carnations in tiny back stitches. Rather than draw the little points on the flowers, I drew in the curved edge and marked the divisions for the points around the outline.

© Thistle Threads/Carol-Anne Conway
I’d worked a sample of alternating LSS on the edge of the linen to build up a little confidence but knew that stitching a virtual semi circle would be a completely different kettle of fish. On my sample I had used the linen threads to gauge the length of the stitches. I could not do that here, so I drew contour lines to serve as a guide. I’d also used the threads to judge the direction of the stitches and because I was working a small rectangle, it was easy to begin at one edge and work across. Here the stitches need to radiate around the circle. On
Camellias I had draw directional lines to serve as a guide but in this case I found it easier to visualise a centre point and aim all of my stitches at that point. As I have been taught in Japanese embroidery, and everything else I have read suggests, I started from the centre and worked towards the right, then returned to the centre and worked towards the left.

© Thistle Threads/Carol-Anne Conway
Nagamijika-sashinui (alternating LSS) is not the same technique as thread painting. It is a stylized effect that is entirely in keeping with the Japanese penchant for stylized motifs and designs. I think that it is equally appropriate in this design where the motifs are more stylized than realistic. For the second row, I again worked from the centre towards each edge in turn. I brought the needle up roughly in the middle of each short stitch and stitched down into the fabric on my drawn guideline still aiming the stitches towards my imaginary centre point.

© Thistle Threads/Carol-Anne Conway
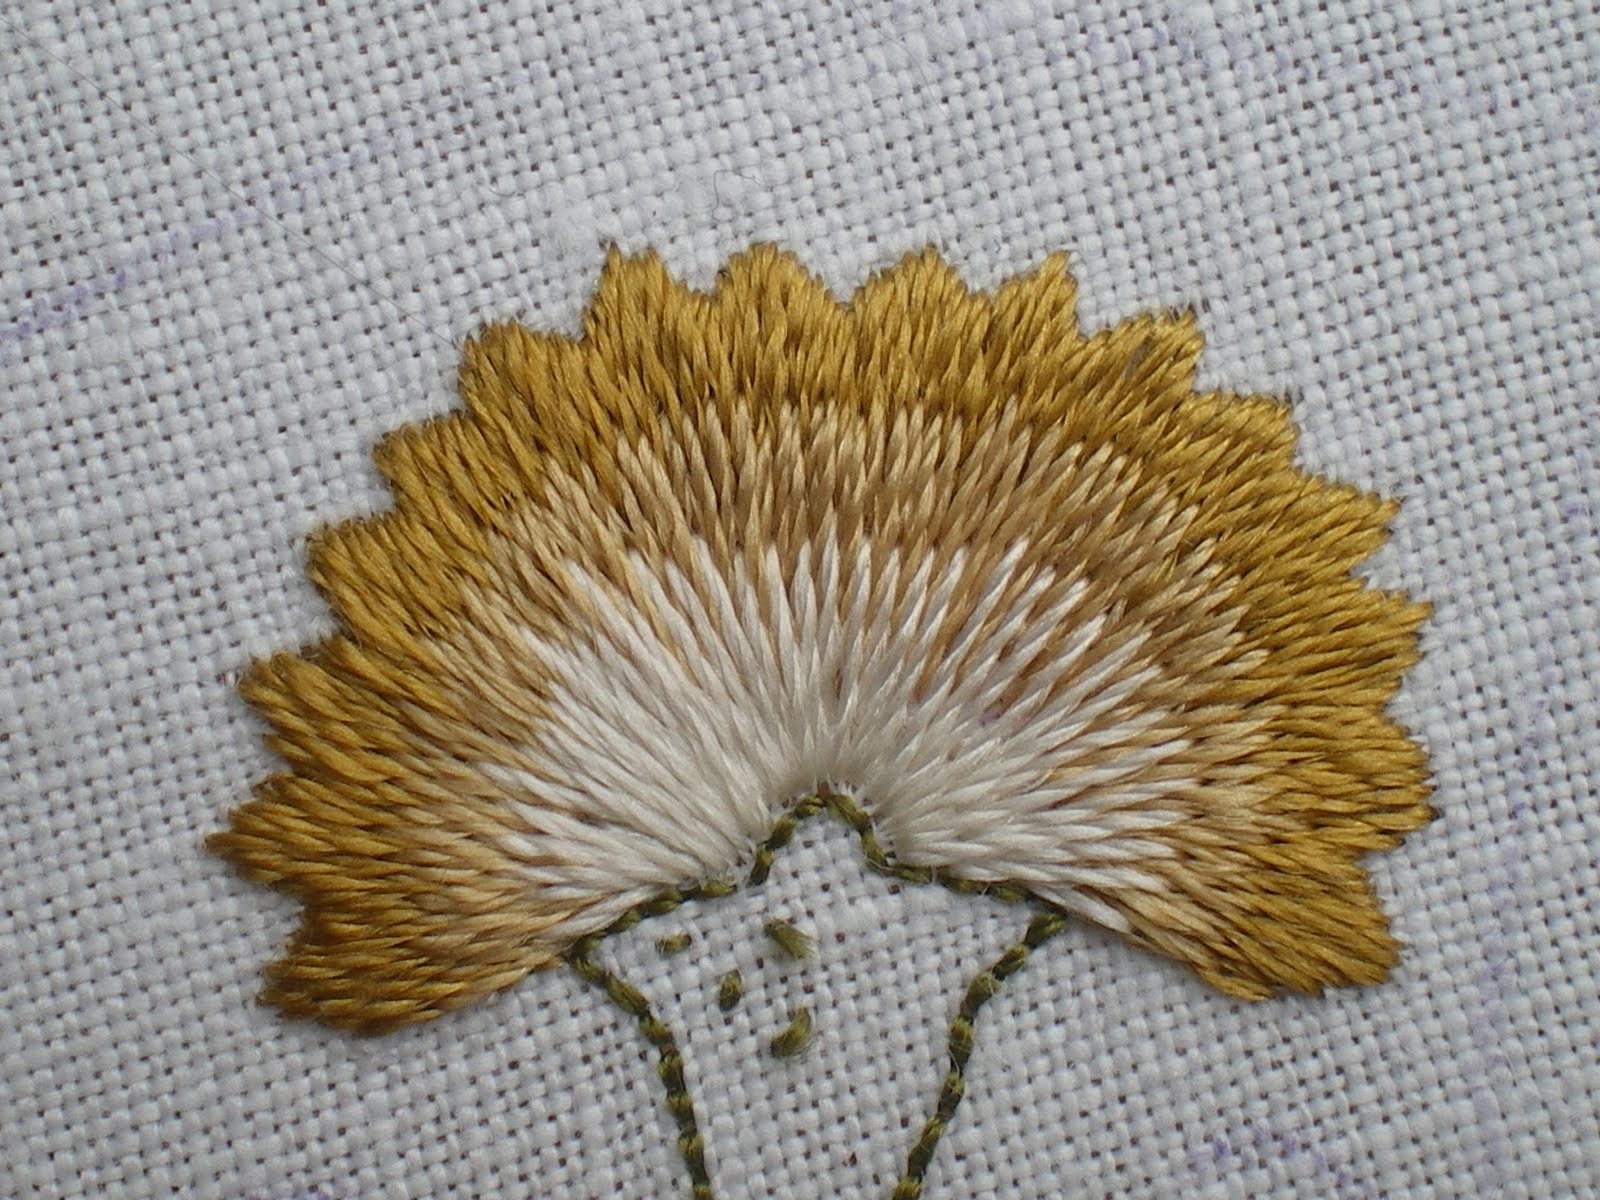
The stitches of the third row are stitched between those on the second row. Some of the stitches are shorter so that the centre does not get over crowded. I am quite pleased with the alignment of the stitches but I would have liked the bands of colour to have been the same width and for a bit more colour from one row to show through in the next but I’m not sure is that is possible with stitches that radiate as much as these.

© Thistle Threads/Carol-Anne Conway
The second carnation was stitched in the same way, except that I came up in the fabric and stitched down into the thread to experiment with both ways. I found it more difficult to judge the position of the stitches this way and I think the stitching on this flower is worse than on the first one.
Having said that, I think the shape is really difficult and I am not totally dissatisfied with this attempt, it certainly does not look as bad with the naked eye and this macro shot suggests.

© Thistle Threads/Carol-Anne Conway
Happy Stitching