Saturday, 25 December 2021

The Twelve Days of Christmas

My blog has been somewhat neglected recently, in fact, I have not posted for over a year. In the past, I was not posting often because I was not doing much embroidery for one reason or another. For the last (nearly) two years, I have not been blogging because I have spent all of my free time stitching. Since the pandemic began, I have been working from home and, of course, rarely going out. I stitch most evenings and weekends and have worked my way through several projects.

Over the years, my blog has proved a valuable resource for me and I regret that I have not kept it up to date. Over the Christmas break, I would like to write up some of the projects that have fallen through the net. I will be writing one post for each project rather than detailed posts covering every step. Many of the projects are already finished; a few are started and hibernating until I can I have more time to progress them.

For the Twelve Days of Chirstmas, I will be reminding myself of some what embroidery has given to me over the past two years.
© Golden Hinde Embroidery/Carol-Anne Conway

Happy Stitching

Saturday, 10 October 2020

Queen of Flowers - Finished

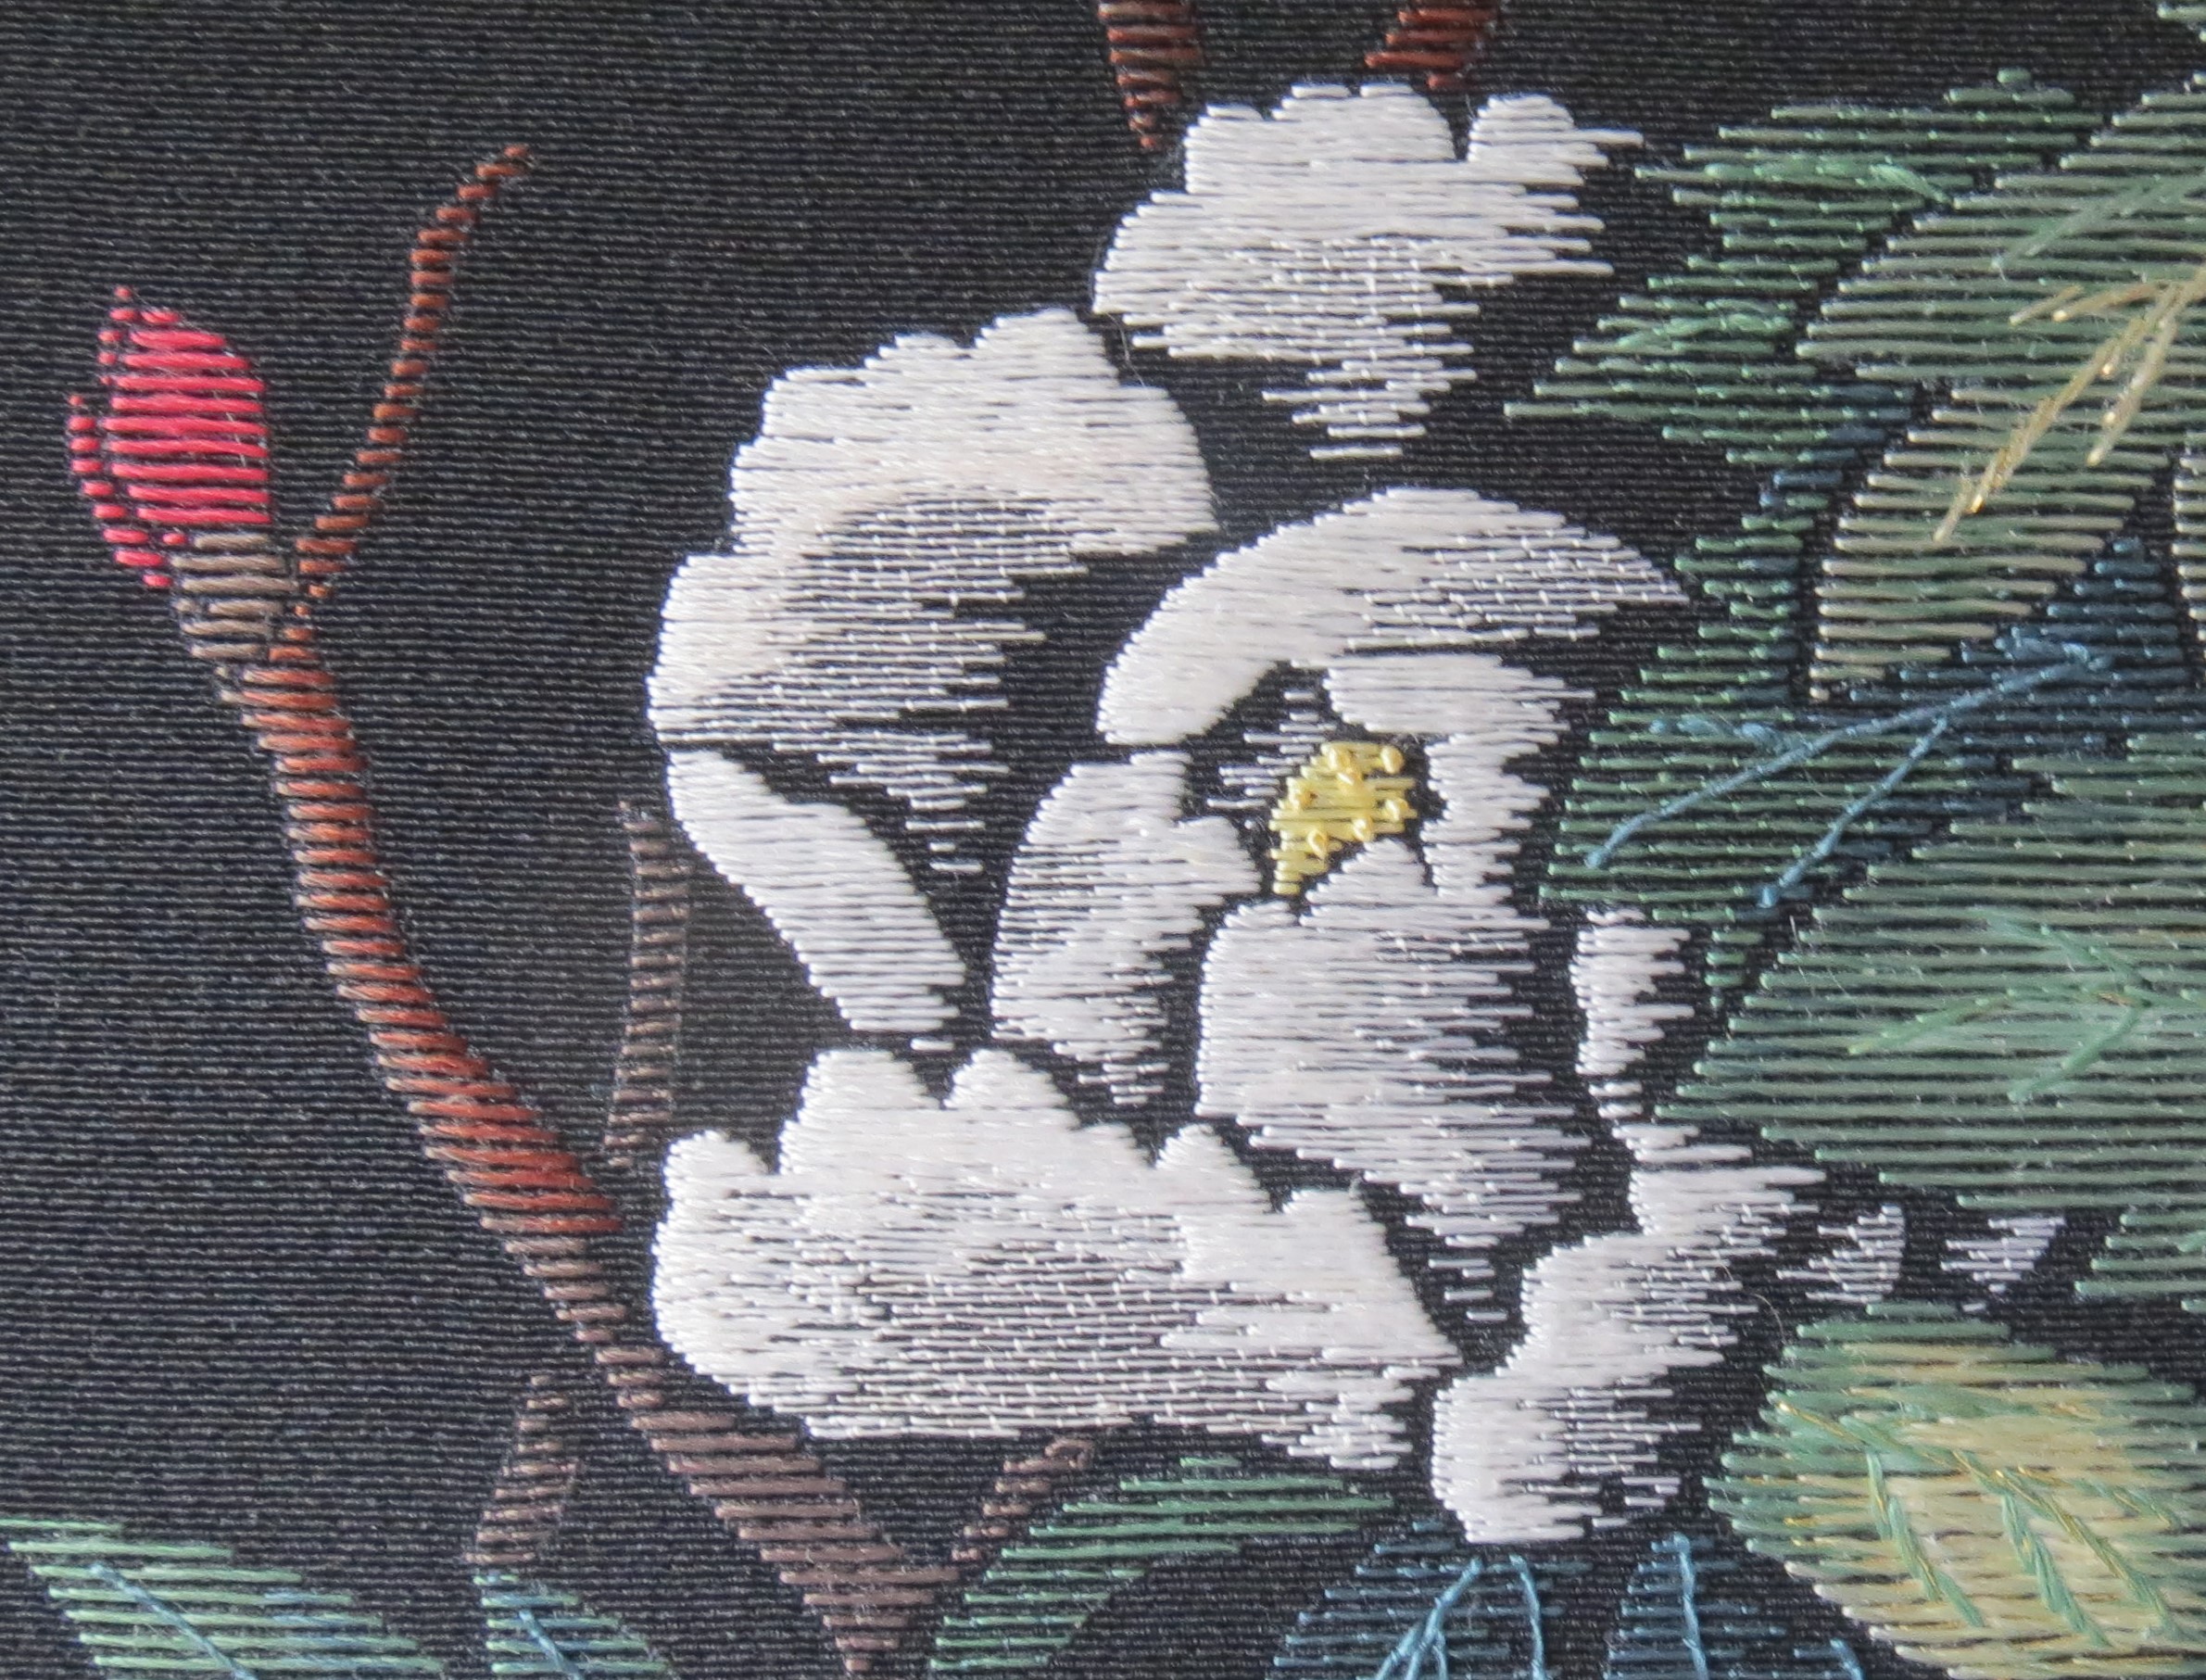
From the first time I saw an example of Fuzzy Effect it intrigued me and I was eager to stitch this phase. The technique did not intimidate me in the way some others have but I think it is deceptively difficult. The skill is not so much in executing the stitch as in selecting and blending the threads to give a harmonious effect.

On some of the leaves, I thought I might have been too subtle in my choices.
© JEC/Carol-Anne Conway

While on others, I wondered if the colour changes were too sudden and whether I could have blended the colours more.
© JEC/Carol-Anne Conway

I enjoyed experimenting with different aspects of this technique on the flowers. Working the bud in a single colour and using only the thickness of the thread to suggest the shape.
© JEC/Carol-Anne Conway

The smaller bloom on the left is stitched in every valley whereas the rest of the design is stitched in every other valley.
© JEC/Carol-Anne Conway

The larger bloom relies more on colour than thread thickness to create the shadows.
© JEC/Carol-Anne Conway

It is always important to step away from your work and view it at a ‘normal’ distance. With this piece it was vital. Those leaves, that I had thought might be too contrasty look completely different when viewing the whole picture.

I took especial care to ensure that I was working in the same valley as I moved from one element to the next. This may not be evident at a distance but it pleases me to know that I have that continuity throughout.
© JEC/Carol-Anne Conway

I really enjoyed working on this piece and I am pleased with the finished piece. I am even more pleased that I have now completed all nine phase pieces and can progress to my graduation phase.

Happy stitching

Friday, 25 September 2020

Queen of Flowers - Pollen

With the bud and last remaining leaves stitched, I had just a few finishing details to stitch.

© JEC/Carol-Anne Conway

The anther or pollen on the open flowers are worked in Japanese knots, I like to leave these to last so that my working thread does not catch on them as I stitch. First, I stitched a yellow weft foundation in the centre of the flower. Randomly spaced knots where worked on top.

© JEC/Carol-Anne Conway

On the smaller bloom on the right, I had originally worked the shadow area in pink and the centre of the flower in white. I decided to rework these areas based on what I had done on the full bloom and bud. The pink area was removed and redone in a thinner white thread. The white centre was removed and redone in yellow with a few yellow knots on top.

© JEC/Carol-Anne Conway

Happy Stitching
Thursday, 24 September 2020

Queen of Flowers - bud

Where colour had played a large part in the other elements of this design, I wanted to form the bud solely using different thickness of thread and couching methods. The bud on the original background fabric is a deep pink but, having already moved away from the pinks, I chose to do a pure white bud. I put in the foundation threads for the entire bud leaving one point open space between the petals.

© JEC/Carol-Anne Conway

My intention was to make the bud appear round by using thicker threads and diagonal couching on the fullest parts.

© JEC/Carol-Anne Conway

Again, I used colour and various thicknesses of thread on the surrounding leaves to give an increased depth of field to the bud.

© JEC/Carol-Anne Conway

Happy stitching

Friday, 28 August 2020

Queen of Flowers - large bloom

I don’t appear to have taken any photographs while stitching the branches or buds. I think that is indicative of how much I was enjoying the stitching.

© JEC/Carol-Anne Conway

Before stitching the large bloom on the right, I stitched the remaining leaves below it as they are in the foreground. Those are the leave that were the subject of my previous post. While I had a lot of fun stitching these leaves, some of them presented me with a minor problem. They are in what I call “no man’s land”, i.e., the very centre of the fabric; an area that I cannot reach comfortably from either side of the frame.

© JEC/Carol-Anne Conway

I was really looking forward to stitching the large bloom. The flowers and the bud show case this technique, I think. As always, the foreground petals are stitched first. The edges of these petals are shown coming forward and are in the light so they are stitched with the heaviest threads.

© JEC/Carol-Anne Conway

Other areas are stitched with slightly thinner threads to shape and contour the petals.

© JEC/Carol-Anne Conway

A different colour is used for the areas that are in shadow. In the original colour scheme, which is on pink fabric, the shadows are done in pink and fade into the background.

© JEC/Carol-Anne Conway

The pink on the on that black fabric did not look right to me and highlighted a nagging doubt about the flower on the left that I had already stitched. I have since seen another version of this design on black fabric where they have used pink and it works well but I think that they used a less sugary pink than mine.

The main reason that I felt the pink did not work was that it did not melt into the background. I considered using black that definitely would have faded into the background but I thought that the contrast with the white would have been too stark. I elected instead to use a deep blue.

© JEC/Carol-Anne Conway

Happy stitching

Friday, 7 August 2020

Queen of Flowers - leaves

I elected to do the flowers in white so all of the colour in this piece comes from the foliage and stems. While I am not very confident with colour, I had a very clear vision of what I hoped to achieve with the foliage. For this to work, I needed to visualize the light source, where the sun would fall on the leaves and where would be in shadow. For those parts that were clearly in shadow, I used the deepest bluey green for the foundation. Where I imagined the sun would fall on the leaf, I used the lightest yellowy green. And in between, I used a mid-green.

© JEC/Carol-Anne Conway

The fall of sunlight is further enhanced by a technique called 'striking effect' whereby a gold thread is placed above the silk foundation before the couching threads are applied.

© JEC/Carol-Anne Conway

The couching stitches can be the same colour as the foundation to enrich the colour or they can be in a different hue to start blending the foundation stitches.

© JEC/Carol-Anne Conway

Sometimes I used the highlight and lowlight colours to blend into the mid-tones to strengthen the shadows and highlights. Sometimes I used a mid-tone to tone down the shadows and highlights. This blending is most effective when using diagonal couching.

© JEC/Carol-Anne Conway

While the shading is the fun part, the leaves really come to life when the veins are added.

© JEC/Carol-Anne Conway

With this area completed, I was ready to move onto the part that excited me the most – the main flower.

Happy Stitching

Thursday, 14 May 2020

Queen of Flowers - back to it

“I really like this piece and the technique and cannot wait to get back to it but it is going to have to wait while I concentrate on something I am finding much more challenging.”

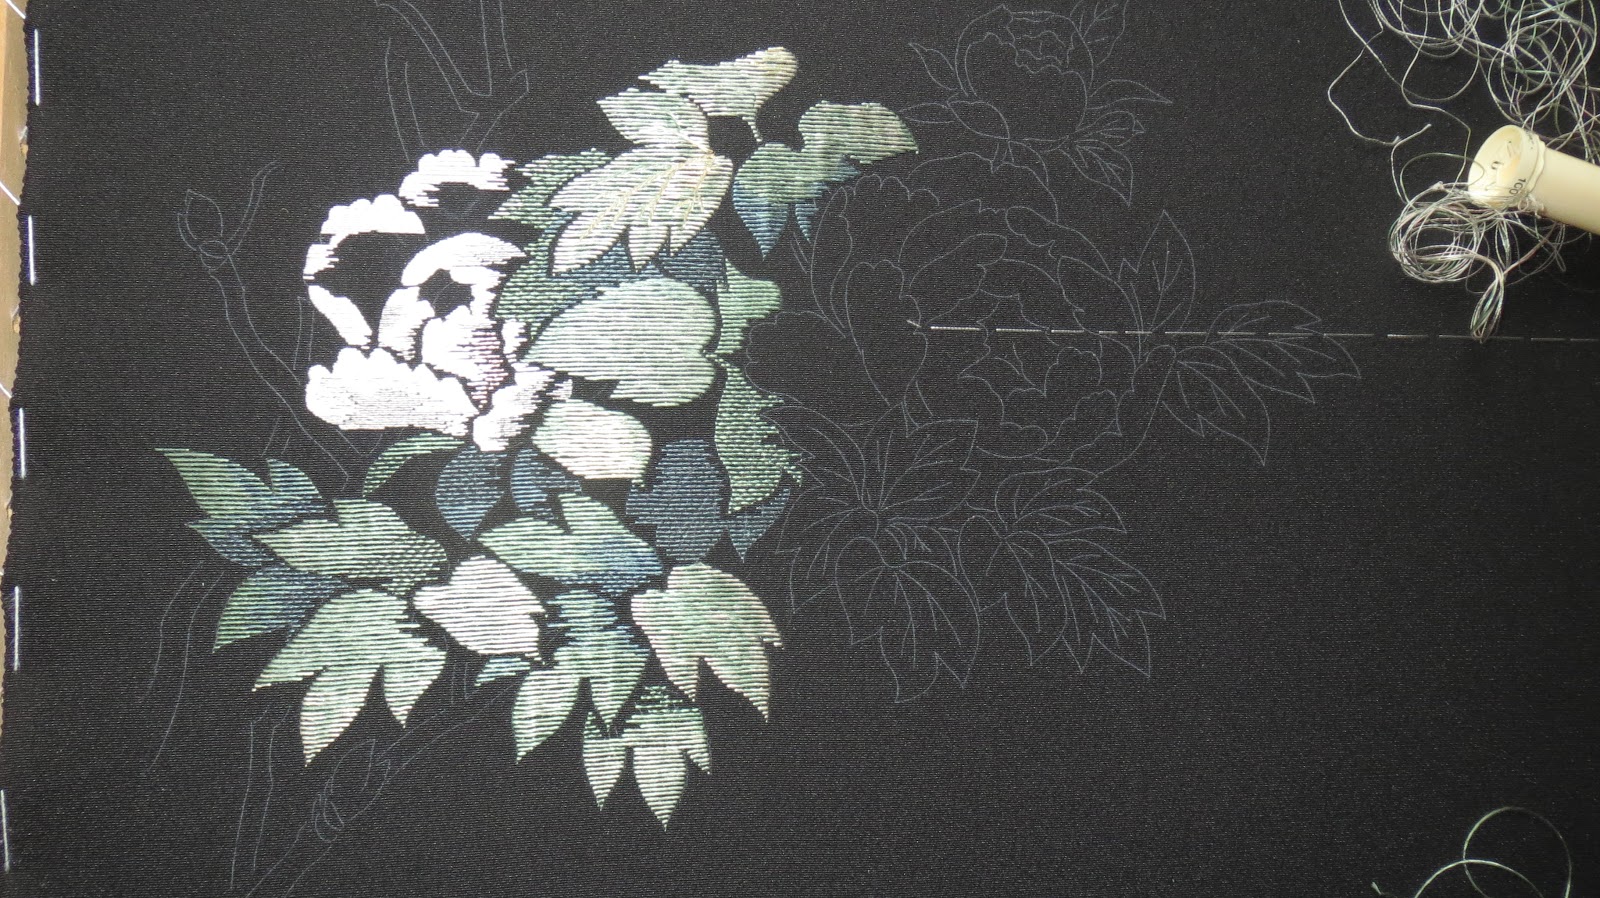
I wrote those words in November 2014. And this is how Queen of Flowers looked at the time.

© JEC/Carol-Anne Conway

I did not imagine that it would take me four and a half years to get back to it! But when I did, I was obviously enjoying myself because this is the next photograph I took!

© JEC/Carol-Anne Conway

Each Phase is designed to teach a specific technique but many of the phase pieces also include other techniques or there are many aspects to it as with goldwork, for example. The designs at Phase VIII are worked entirely in Fuzzy Effect (except for a few details) and there are just two aspects; vertically held valley lines and diagonally held valley lines. The technique relies on different thicknesses of thread and colour blending to build the picture.

Nuido, the Way of Embroidery, as taught by the Japanese Embroidery Center has three aspects: the acquisition of technical skills and knowledge (rationality), the development of artistic sensitivity and awareness (sensitivity), and understanding the spiritual aspects of shishu (spirituality), resulting in a state of peace, calm, and harmony. For me, the technical aspect of Fuzzy Effect was one of the easiest to learn; the sensitivity aspect was one of the most difficult.

The design comes with a suggested colour pallet but that is based on the dusky pink fabric used in the original. Having changed the background fabric, my colour pallet needed adjusting. I’m not very confident with colour selection and am happy to take guidance from my tutor. With my rudimentary understanding of colour theory, I know that bluey greens recede into the background and brighter, yellowy greens come forward. I combined this notion with the basic principle of the technique to use thinner threads, vertically held, in the background and thicker threads, diagonally held, in the foreground to create depth of field.

© JEC/Carol-Anne Conway

Happy Stitching