I started stitching in 2014 at my spring class with Margaret Lewis. I had visited sensei a few weeks earlier to choose my silks and discuss preparation. As well as any stitched outlines, I hoped to have all the foundations stitched prior to class but did not get that far so the first day was spent twisting threads and stitching the foundation of the two vessels. At first these two blocks of solid colour look very stark but I knew that I needed to ignore that and just remember that they will look very different in the end.
When I last wrote about Sake Boxes, in January 2015, the foundations had been pushed to the back of my mind while I focused on the many chrysanthemums and I wrote “Until I get to the gold work on the vessels there will be nothing new to say about this piece, except for an occasional progress report.” While progress has been slow and intermittent, I have failed completely in filing progress reports!

© JEC/Carol-Anne Conway
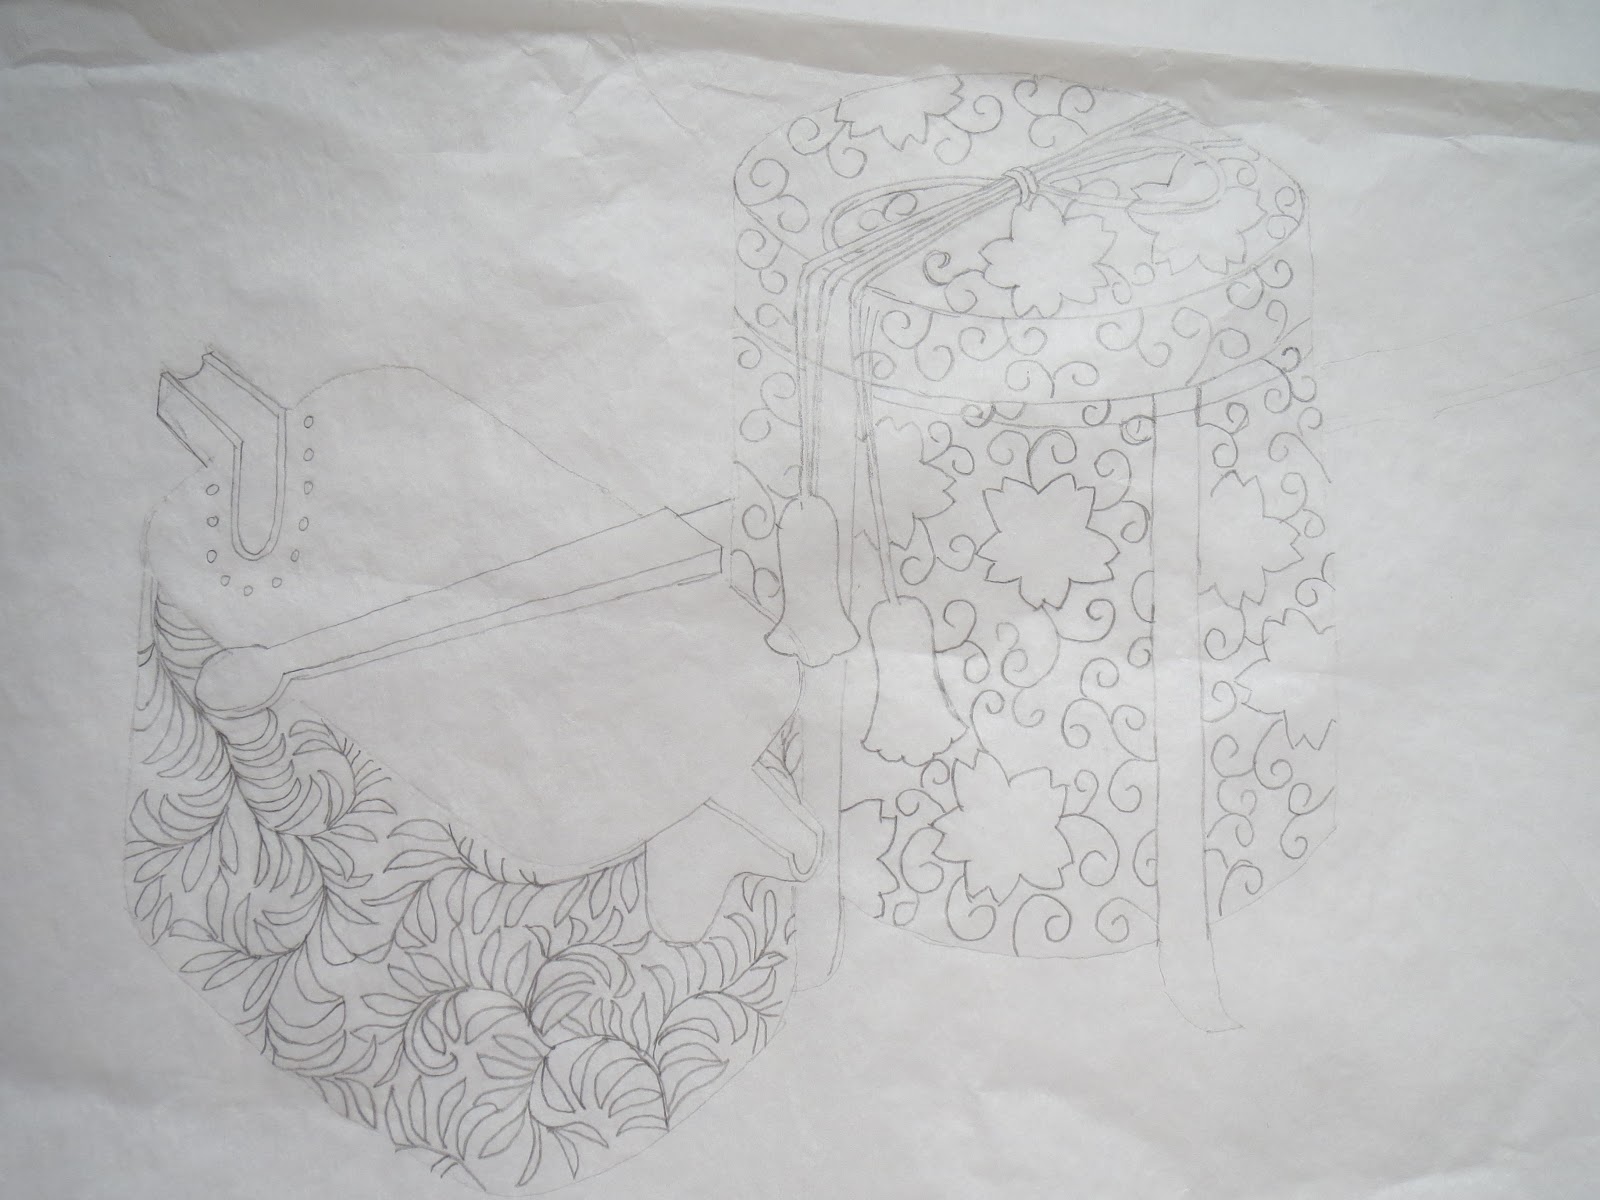
By the time I attended class at Symondsbury Manor House in March 2015, I had made reasonable progress with the round and pointed petal chrysanthemums. Whenever possible, I like to spend class time working on something new so that I can obtain instruction and iron out any difficulties whilst my tutors are on hand. During this class I wanted to begin the superimposed work on the two vessels. As always, there is preparation to be done before you can start on the fun bits! Ahead of the class I traced the design for the sake box and the ladle on to tissue paper and began the laborious process of stitch transfer onto my foundations.
© JEC/Carol-Anne Conway
I had been advised to use a different colour couching thread for each of the various superimposed elements. This proved to be good advice even though my colour choices did not always work to my advantage.

© JEC/Carol-Anne Conway
Once the entire design has been stitched through the tracing paper comes the even more laborious process of removing the tissue paper. It must be done with care so not to disturb the stitch transfer or the foundation stitches.

© JEC/Carol-Anne Conway
With the tissue paper removed, the two vessels were already transformed and began to get an impression of how they would look with the superimposed work complete.

© JEC/Carol-Anne Conway
Happy Stitching

4 comments:
Thanks for posting your progress (even if it was 4 years ago ! ) Your blog is very helpful for a beginner like me. The transferring process looks like it takes a lot of time to do.
Yes, "painstaking" is the right word for that transfer method, but there are times when it is by far the best choice, aren't there!
It has been a while since your last post. I hope you keep up your blog. The transfer process takes a long time. I like the idea of using different colored couching threads for the elements.
That is lovely--thanks for posting progress!
Post a Comment